
Tubes, paths, clumps and caps
Four tools on the Hair shelf place long hair shapes by hand. Each one makes ordinary tubes, so everything on Long hair applies to what they make.
square tube and circle tube
The general tube tool. Three steps, each confirmed with a click or Enter: where the tube starts, how wide it is, how long it is.
- Start. Click square tube for a square section or circle tube for a round one. The camera stops orbiting until the tube is placed.
- Place. Move the pointer over the head: the base outline sits under it. Scroll to size it. Click.
- Radius. Move the mouse right to widen the base, left to narrow it, or scroll. Click.
- Length. The tube stands up from the skin. Move the mouse up to lengthen it. Click.
- Shape. The tip ring is picked: drag it where the hair should end.
Esc cancels and removes the tube and its twin.
path tube
For hair that hugs the head: a fringe combed to the side, a braid along the scalp, a strand behind the ear. Click along the skin and get a flat band whose every ring lies on the surface.
- Click path tube, then click on the head where the hair starts.
- Move along the head and click to add each ring. One click is one ring.
- Backspace takes the last click back. Enter or Done finishes. Esc throws the path away.
The band is 30 mm wide and 8 mm thick and floats just off the skin. Click every two or three centimetres for a smooth curve, and on each side of a bend such as the top of the ear.
clump
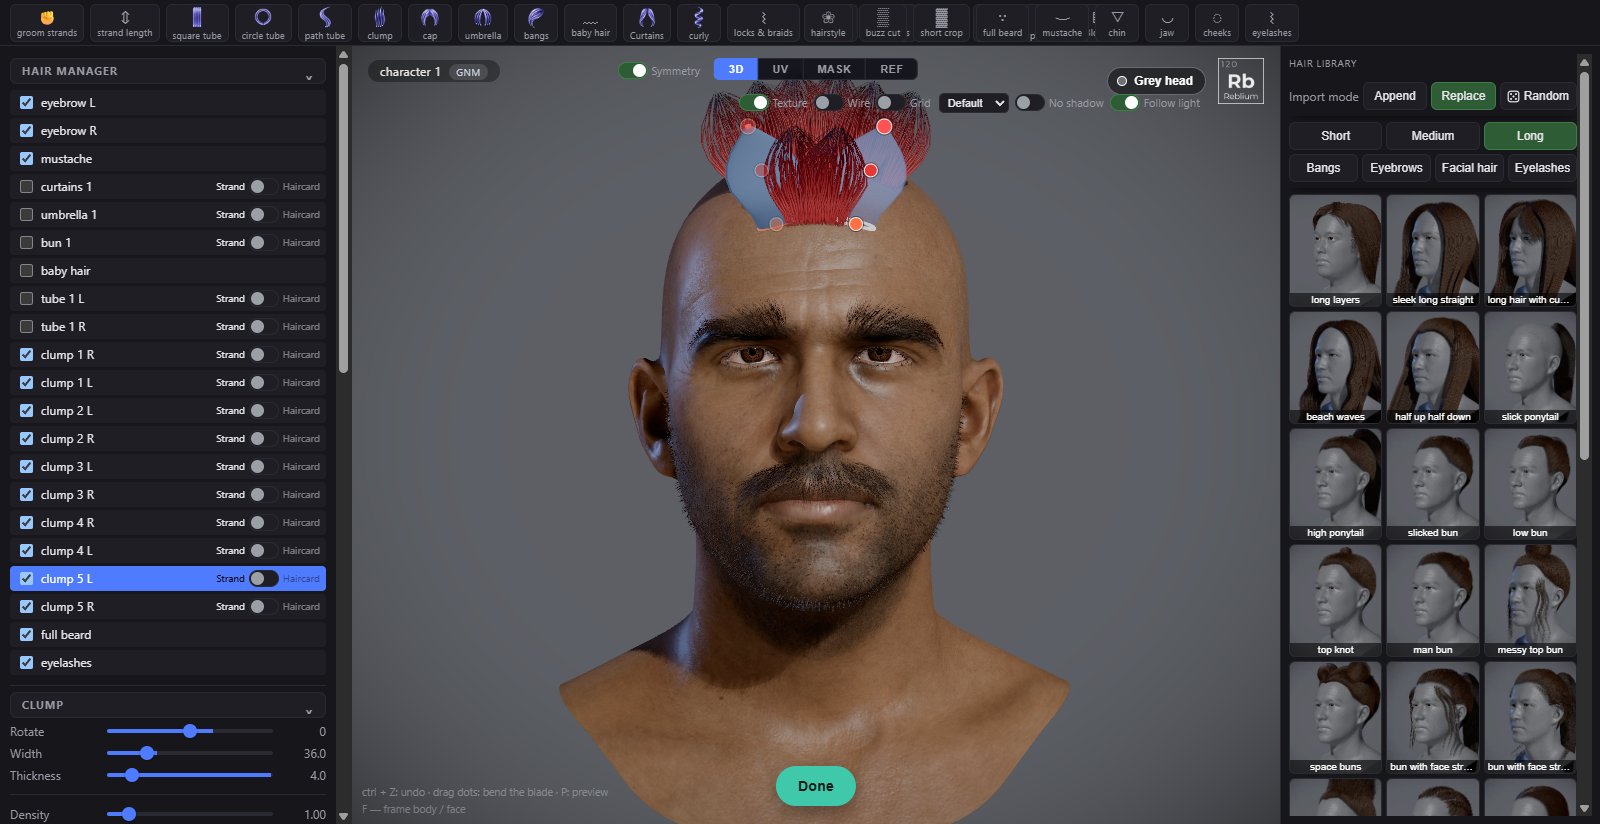
For textured styles built from separate locks: a quiff, a swept fringe, spiky tops. Every click on the head stands a blade of hair there that leans the way hair falls from that spot.
- Click clump. It stays lit while the tool is on.
- Click the head where a lock grows. Hold and drag to size it: the next clicks keep that size.
- Keep clicking. A press off the head still orbits the camera.
- Esc, or the chip again, when you are done.
Each blade has three dots: base, bend and tip. rotate in the panel turns the blade round its own length.
cap
The fastest way to a full head of long hair: leaf shaped spans from the parting over the sides to the nape, fitted to this head, in one press.
- Set cap spans at the top of the left panel: 2 to 36, half on each side. Six to twelve is a good start.
- Click cap. The spans appear at once, named cap 1 L to cap N R.
- Drag the shared tip dot at the back to move where all spans end. Pick any span to reshape it.
- Do not like the count? Ctrl+Z, change cap spans and press cap again.
Common problems
| What you see | Why | What to do |
|---|---|---|
| Nothing appears when I place a tube | The pointer is not over the scalp. | Move onto the head: the base outline appears under it. |
| No scalp to pin a tube on | The head is still loading, or the scalp mask is empty. | Wait for the load; paint a scalp in the MASK view. |
| A path band twists between two clicks | The skin turned a lot between them, as over the ear. | Add a click in between. |
| Spans dip over the ears | The scalp mask runs over the ears. | Paint the ears out of the mask, then press cap again. |